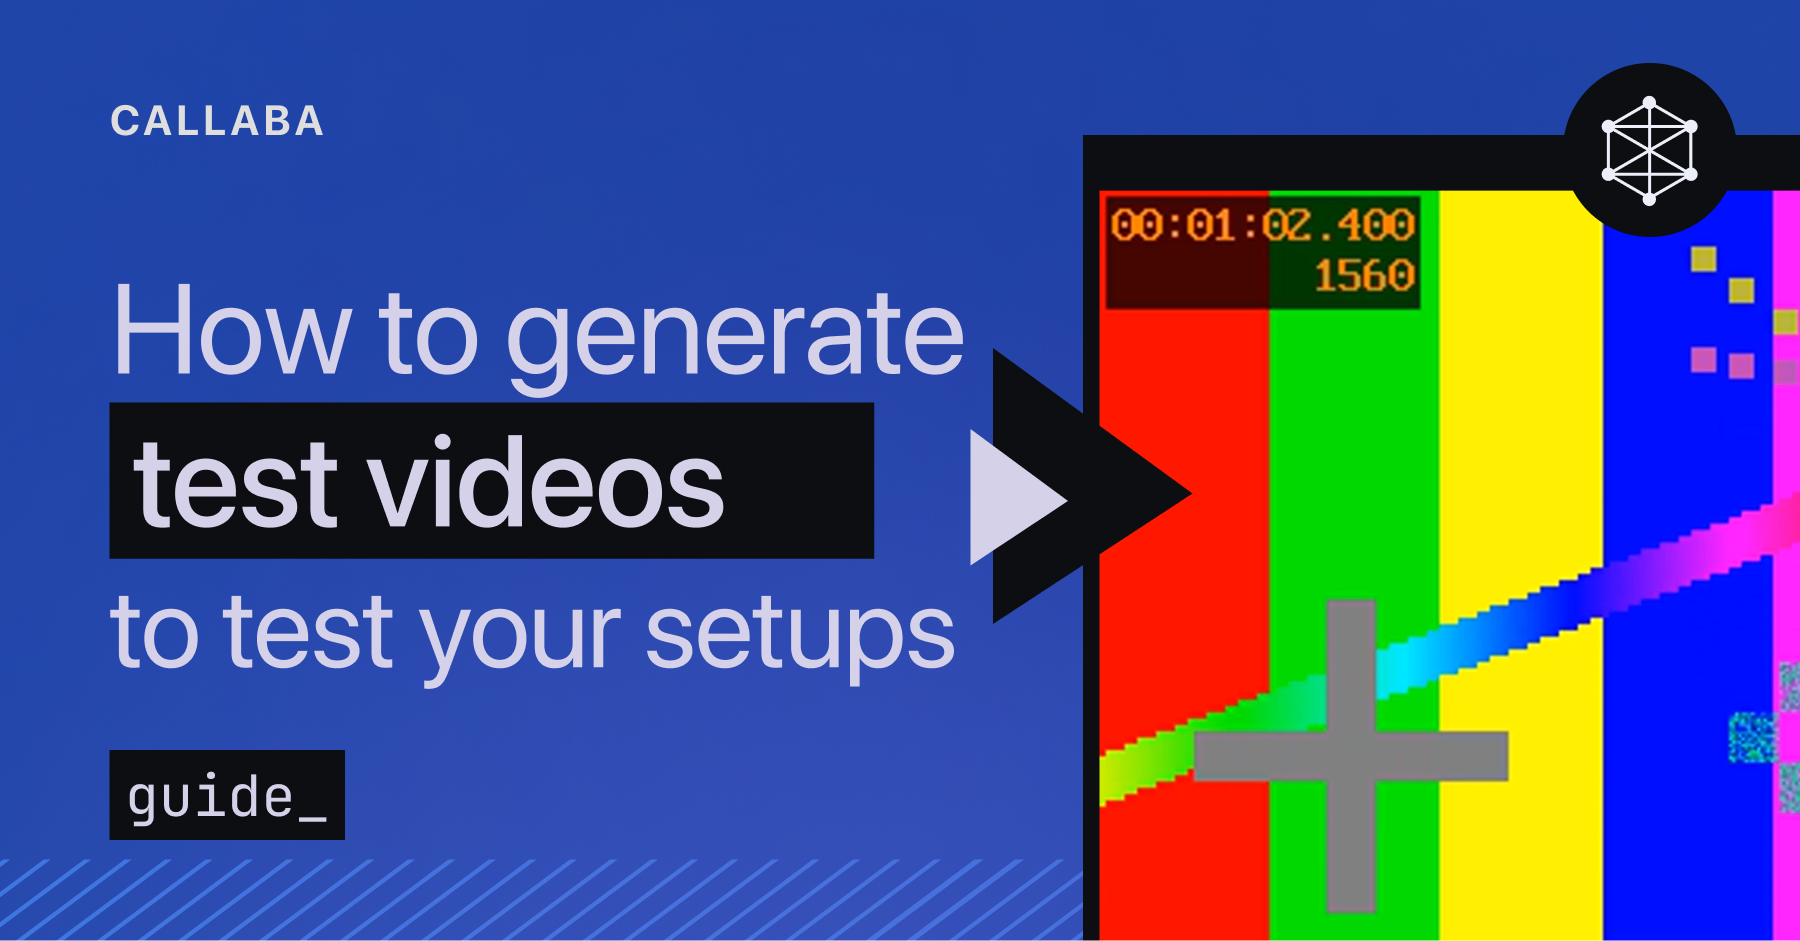
How to get SRT streams from Haivision Gateway and record them

To keep this tutorial short and sweet, we are not going to explain the basics of Haivision Gateway here. Please note that we use Haivision Gateway to give a general idea, you can apply the same principle to any other service with a similar functionality.
If you’ve never tried Callaba Cloud Live Streaming and this is your first time engaging with a cloud platform, please read our step-by-step manual:
How to Launch Callaba Cloud.
Subscribing to Callaba Cloud will take no more than 5 minutes.
Let’s begin
1. In Haivision Gateway dashboard, create a new Route or use the one you already have.
Name your Source and Route
Protocol : TS over SRT
Type : Listener
Port : Specify the port where your stream will go. In our case it’s 1935.

2. In the same Route, click “Add Destination”.
For this particular user case we are going to send our stream to our local port to pull it from there later.
Protocol : TS over SRT
Type : Listener
Port : Specify port you’re going to pull your stream from.
In our example it’s 9001
Click Save


Great! Our set up is ready to pull from it. Moving on to Callaba Cloud Dashboard.
3. Log into Callaba Cloud Live Streaming dashboard
To open it, go to http://public IPv4 of your instance

Login : admin
Password : your unique Instance ID
If you are having difficulties with this step, check out our step-by-step manual: How to launch Callaba Cloud Live Streaming.
Pro tip :
Make sure you read launching tutorial to the end, so that you know how to stop your instance when your work is finished. This is important to avoid unnecessary charges.
4. Create a new SRT server
Go to SRT Servers section
Click “Add New”
Name your Server
Port : specify port

5. Scroll down to the Routing Setting section
SRT Routing : select “Callaba Cloud Live Streaming” from the list
Routing mode : Pull
Now we need to specify our Host.
Or, in other words, we need to tell Callaba where to pull the stream from.
Host 1
Routing Host IP : In this example the Host is the Haivision Gateway, so we’ll specify Haivision Gateway instance IP.
Routing SRT Port : Haivision destination port (in our case it’s 9001)
Source SRT Server name : create a name so you will not get confused later
Click “Save”

Okay, cool! Now that we’re done with this part, we can do a number of things with the stream we’re about to receive. We can re-stream it to socials, record it, transcode it or play it in our browser. We’re going to record it.
6. Go to Stream Recordings section
Click “Add New”
Name your recording
Specify the Input type
In our case it’s our SRT Server
SRT Server : select the name of your server from the list
Output format : select the format of your recorded files
Click “Save”

7. Back in the SRT Servers section we can see that our stream is coming and we can see Input Bitrate and Output bitrate.
Please note that until you set up a final receiver for your stream (in our case final receiver is the recorder) you will not see the bitrate.

8. In the Stream Recordings section you can see that the stream is being recorded.

9. If you need to end your recording, you can do it any time by clicking the status icon.
To open a folder with your recorded files, click “Files”


In the folder you can watch your recordings, download and delete them.
This is the end of this tutorial.
If you have any questions, please contact us at: [email protected]
We will respond to you within 48 hours.
Happy streaming!


![How to receive a feed from a CCTV camera in RTMP [Part 2]](https://api-update.callabacloud.com/upload/1665505619294-1-exdfoq-sduawtt61145bnq-png.png)
![How to transform UDP feed from a CCTV camera into RTMP [Part 1]](https://api-update.callabacloud.com/upload/1665505327856-1-14htgqn1jtviqiga-jjylg-png.png)


